8 Myths About Poly Sand Debunked
“Sand is washing out of the joints - the product has failed!”
“A white foam appeared during the watering process - it’s the polymers washing out of the joints!”
“Weeds are already starting to sprout - the sand isn’t working!”
Polymeric sand is an ideal joint solution for pavers. It’s designed to cycle and offer some flexibility, which ultimately helps prevent erosion due to rain or freeze-thaw cycles. It also protects the project from weeds and damage caused by burrowing insects. However, in order for polymeric sand to perform as intended, it all starts with a proper installation. In this post, we’re going to debunk eight common myths about polymeric sand and explain exactly how to avoid joint failures in the future.
1. Myth: Polymeric sand is basically glue.
Reality: Polymeric sand contains polymers – or binders – that will harden and form a thick crust on the top layer of sand, but it doesn’t glue the pavers together or stop normal expansion and contraction. Pavers still move naturally with freeze-thaw cycles and ground conditions — and that’s exactly how the system is designed to work.
The key to achieving a thick crust when using a product like G2 Polymeric Sand is making sure to use plenty of water during the activation process. As a general rule of thumb, we suggest working in 30 square foot sections, watering for 30 seconds at a time. This post explains the process in detail:
Mastering the Watering Process: G1 vs. G2 Polymeric Sand
2. Myth: If the sand washes out, it means the product was bad.
Reality: Washout is almost always related to installation technique, not product quality. Under-watering, improper compaction, or poor drainage can all lead to weak joints. When installed correctly, polymeric sand is extremely durable and very resistant to washout.
Follow these five tips when installing G2 Polymeric Sand and your joints will be protected from the possibility of washout.
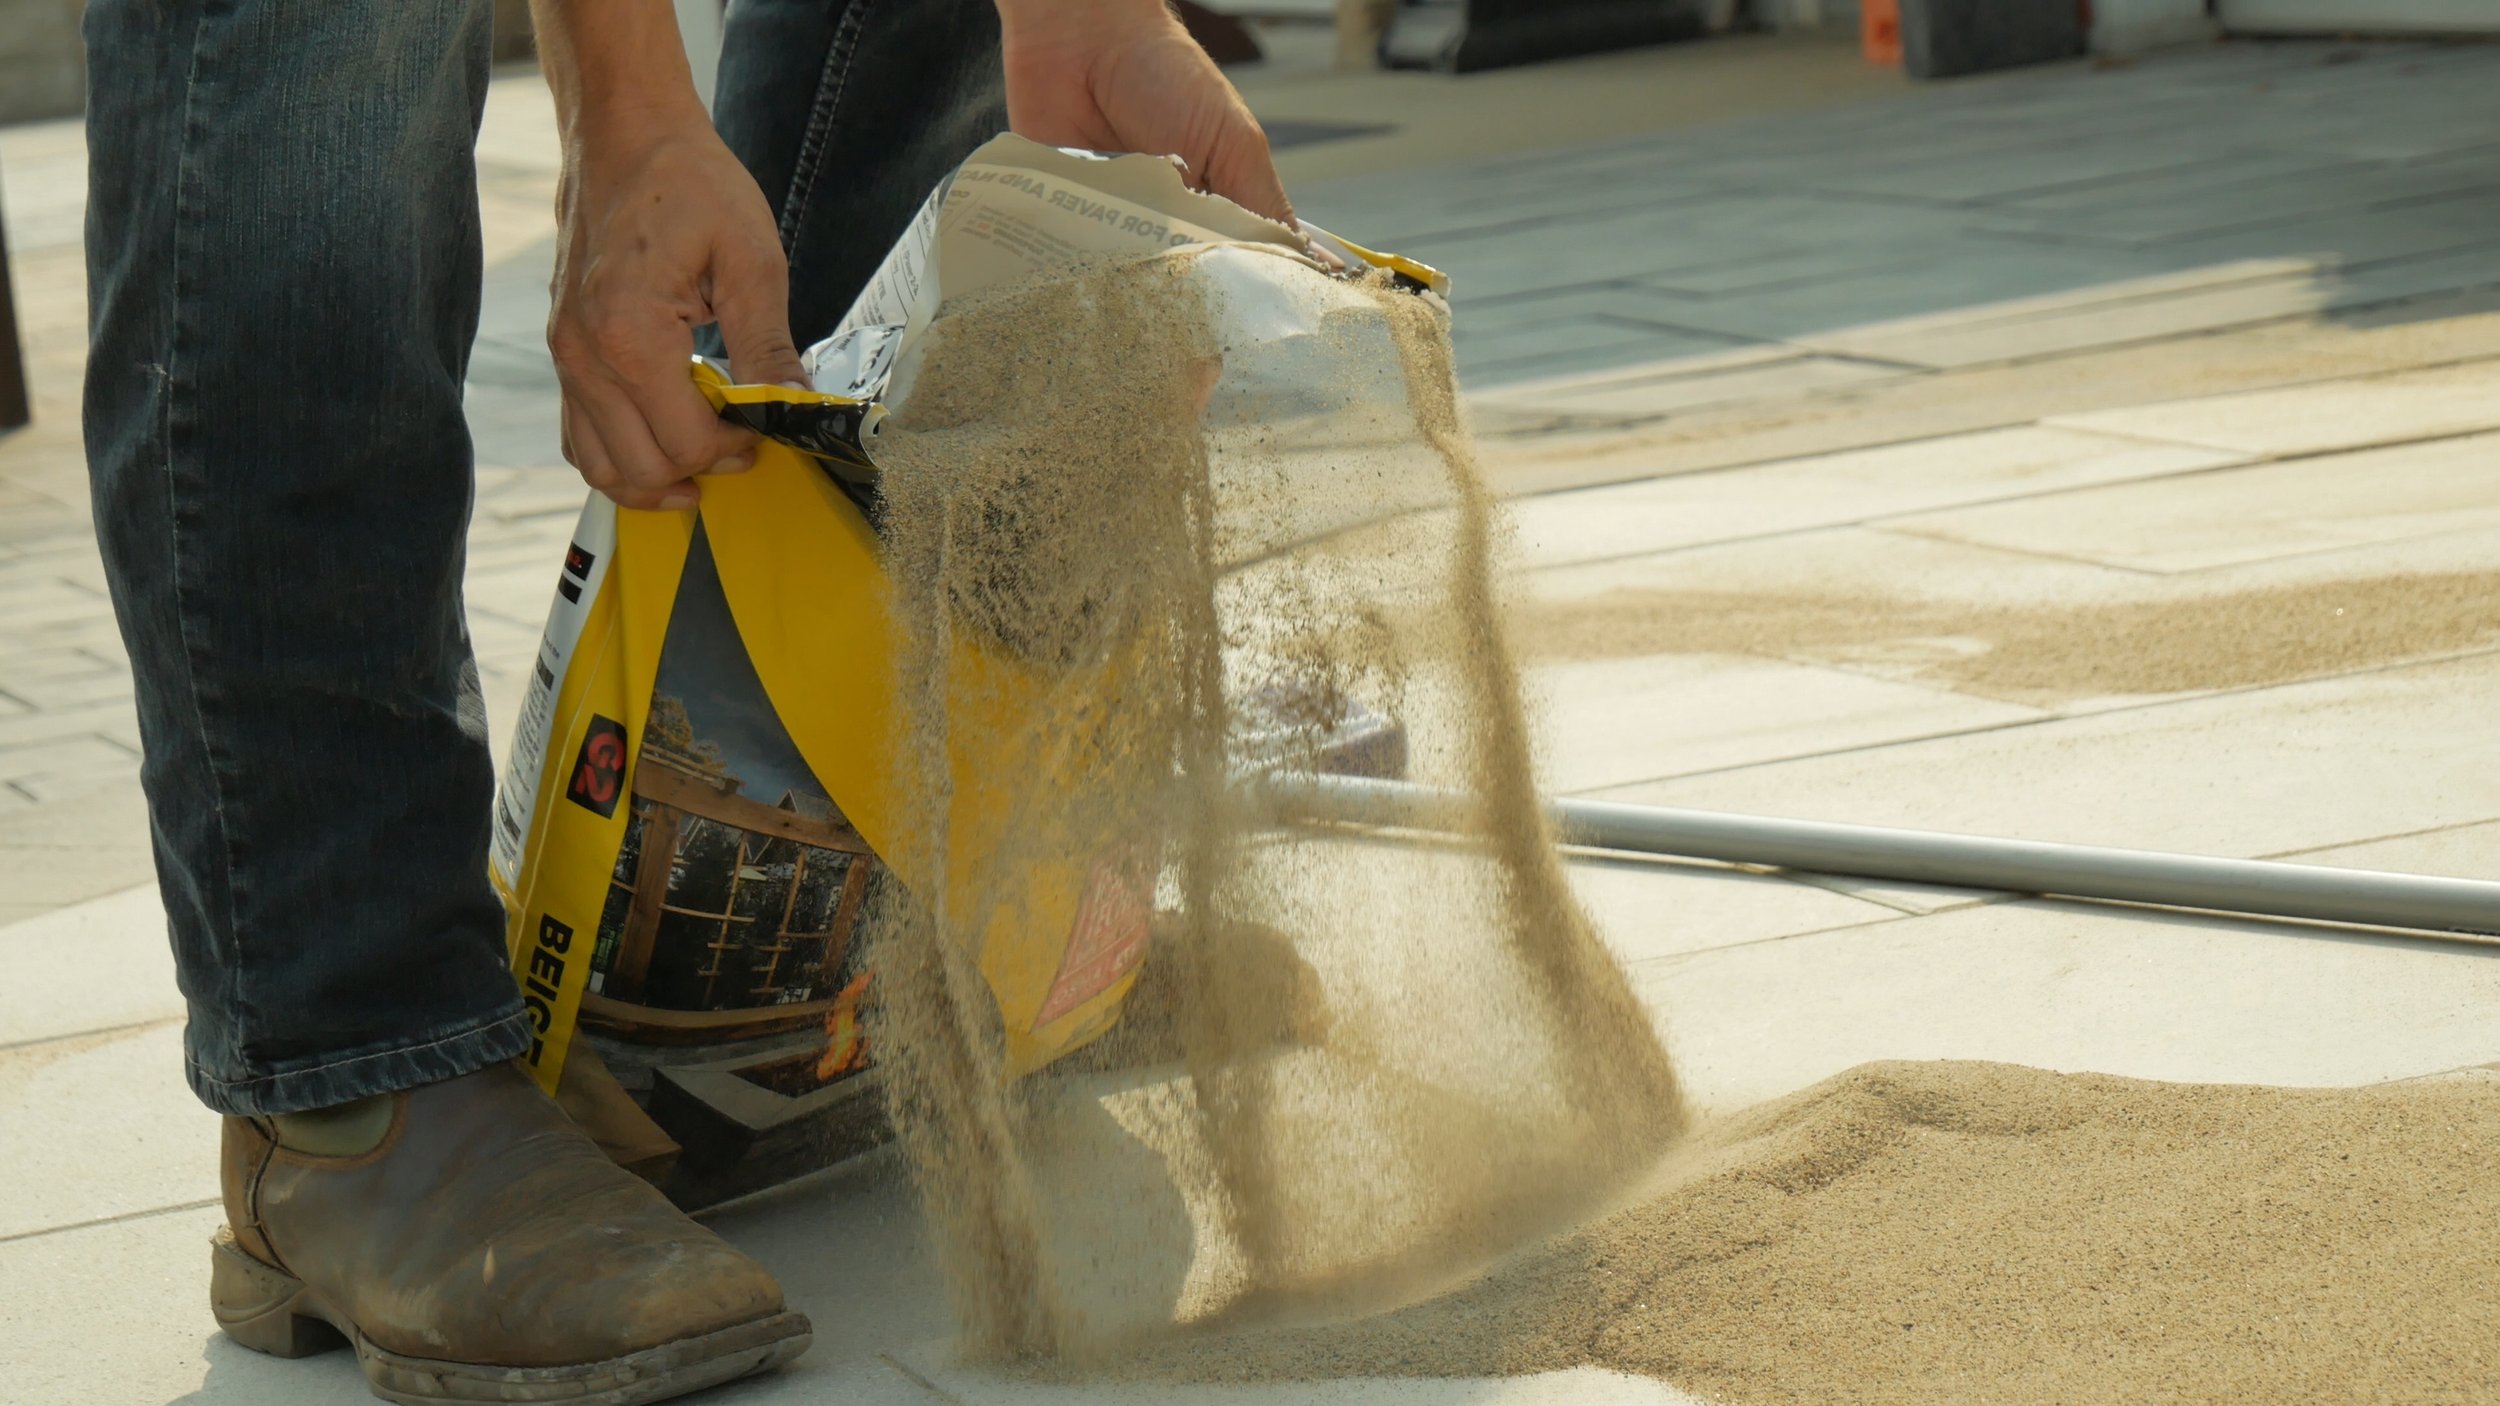
Compaction is a must! The sand will drop anywhere between 30-50% down further into the joint after an initial compaction. Make sure your joints are filled with enough material by properly compacting the surface.
Make sure to carefully follow the instructions for watering. Again, we recommend working in 30 square foot sections for 30 seconds at a time. However, depending on the size of the joints, more water might be needed.
Don’t overfill the joints. The final level of sand should sit ⅛” below the chamfer of the paver.
Follow the guidelines for joint width. G2 Gator Maxx can be used in joints up to 4” and G2 Supersand can be used in joints up to 2”.
Account for drainage. Trapped water or moisture is polymeric sand’s worst enemy. Make sure your pavers are installed on a system that properly drains. This will ensure the G2 Polymeric Sand can cycle through the phases of being flexible when wet and hardening back up when dry.
For a detailed review on protecting your joints from washout, be sure to check out this FAQ:
Why is my polymeric sand washing out?
3. Myth: Polymeric sand prevents weeds permanently.
Reality: While polymeric sand significantly reduces weed growth, it can’t offer a permanent solution. No jointing material can offer a 100% weed-free surface — but polymeric sand is one of the best defenses. It will resist weeds taking root from the surface, as it's hard for a seed to grow on or into a polymeric sand joint from the top. However, if polymeric sand is installed over existing root structures, they send up new shoots, which can easily penetrate the polymeric sand from below.
When using G2 Polymeric Sand — especially when re-sanding an existing project — be sure to kill off any rooted weeds beforehand.

4. Myth: Polymeric sand can fix uneven or sinking pavers.
Reality: Polymeric sand stabilizes the joints, not the base. If the base has settled or wasn’t built correctly, the pavers must be lifted and reset. Sand can’t compensate for structure issues beneath the surface.
G2 Polymeric Sand can be used with pavers that have been installed on a traditional base, a concrete overlay (which properly accounts for drainage), or Gator Base. Visit the G2 Gator Maxx or G2 Supersand product pages for detailed information on base preparation specifications.
5. Myth: The white foam produced during watering is polymers washing out of the joints.
Reality: During the G2 watering process, it’s common to see white foam accumulate on the paver surface. This is called surfactant - it’s not the polymers washing out of the joints. Surfactant is like a soap, which helps to lubricate the sand and allow fast penetration of water down into the joints. The foam will dissipate as the surface begins to dry and won’t harm, haze, or stain the pavers.

6. Myth: Polymeric sand can be used with pavers installed on stone dust.
Reality: Using the right type of bedding is extremely important for the success of your hardscape project. The Concrete Masonry & Hardscapes Association says to use a concrete sand, ASTM-C33, as your setting bed layer. While we see some contractors still installing pavers on stone dust, we do not recommend the use of polymeric sand in these applications. Stone dust does not drain well and is prone to water ponding. Moisture-related issues on jobs where stone dust was used is a very common occurrence.
Long story short - G2 Polymeric Sand (and any polymeric sand, really) should only be installed on projects that have a drainage base. Choosing the right setting bed material will ultimately help keep the pavers dry, help minimize efflorescence, and help the polymeric sand to cycle properly.
7. Myth: Polymeric sand lasts forever.
Reality: Polymeric sand is long-lasting, but like all outdoor materials, it requires periodic maintenance. High-traffic areas may need to be addressed over time, and older installations may benefit from reapplication.
If you need to repair or replace G2 Polymeric Sand on a job, the best practice is to remove all the old product to a depth of about 1.5". Here are three reasons why:
The new sand won’t be able to properly bond to the old sand.
Different installation timeframes can lead to the older material needing to be replaced before the new material - now you're back to square one.
Leaving old material in the joints can potentially impact the watering process of the new sand.
Being thorough when re-sanding a job will pay dividends and help ensure the maximum lifespan of the product used.
8. Myth: Sand haze means something is wrong with the product.
Reality: Years ago, haze was a real problem in the industry. If you didn’t follow the instructions exactly and have bone dry pavers before starting the installation, haze was inevitable. Today’s sands have clear polymers and the likelihood of getting any kind of haze is extremely low. If sand does happen to dry on the paver surface, discoloration is a possibility though.
When installing G2 Polymeric Sand, use a blower to help get residual dust off the surface before activating the sand. The blower can be used as a final step, as well, to eliminate any water that has ponded on the pavers. (This is especially important on textured pavers.) Remember, quality sands are engineered to minimize haze, but proper installation technique is still the biggest factor.
Final Thoughts
Polymeric sand is one of the most effective and reliable materials for creating strong, long-lasting paver joints. When used correctly, it delivers exceptional performance and helps keep patios, walkways, and driveways looking beautiful. Understanding what polymeric sand can (and can’t) do ensures better results and happier customers. For a complete breakdown on polymeric sand and expert tips and tricks for installing it, be sure to download our Polymeric Sand for Dummies Guide.