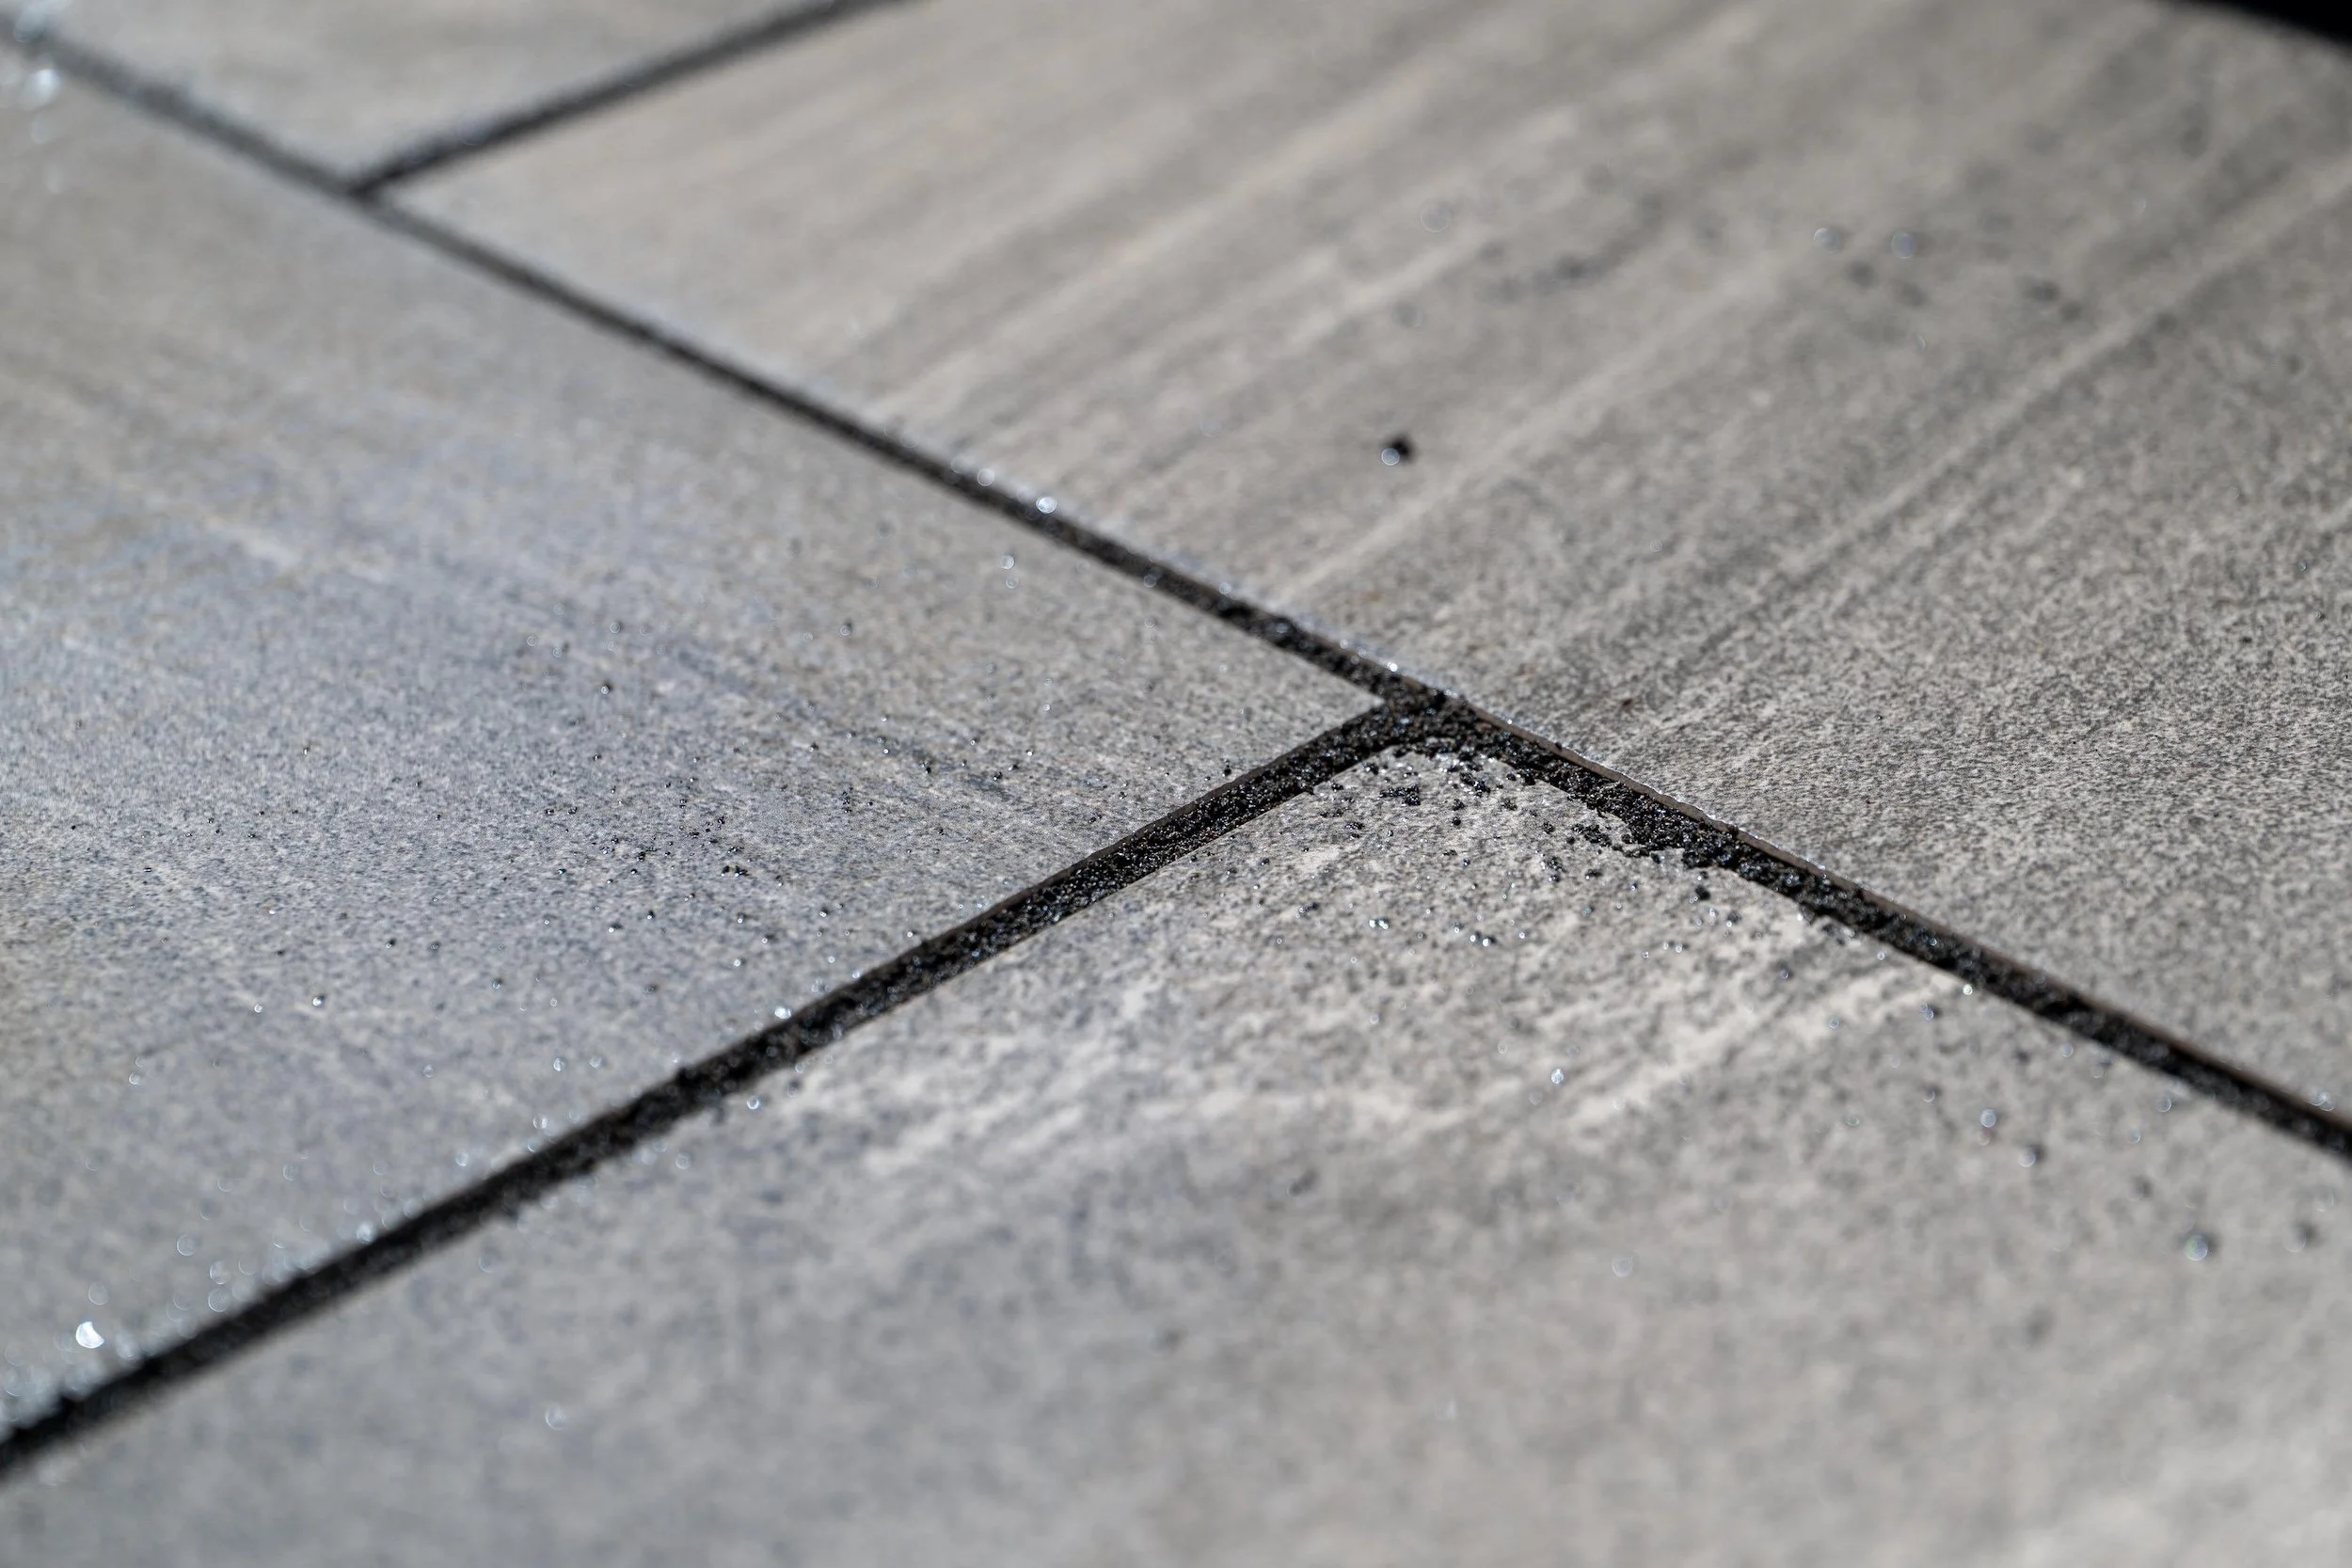
How To Overcome The 5 Biggest Challenges To Installing Outdoor Porcelain Tile
Porcelain tile is becoming more and more popular in the design of outdoor spaces, thanks to its versatile aesthetic, durability, and low maintenance. While the finished product looks sleek and seamless, the installation process can be anything but — especially if you’re working with large-format outdoor tiles.
Whether you're a seasoned hardscape contractor or just starting to work with porcelain, here are five common challenges you'll face during installation and tips for overcoming them.
1. ASPECT RATIO
How To Handle Large, Thin Tiles
Outdoor porcelain tiles are typically large — some 24"x24," 24"x48," and even larger formats. While the scale can create a bold and beautiful surface, it also introduces an issue: porcelain tiles are often only 20mm (¾") thick. This makes them more prone to wobbling or moving during installation, especially if the surface below isn’t perfectly prepared.
Pro Tip: Always take extra care in preparing the base and bedding layer of a tile project. When using Alliance’s Gator Tile System, the Gator Base method is used to create a secure, monolithic design. The excavation depth required is calculated by adding the heights of the tile, Gator Base, bedding layer, plus any soft organic material that needs to be removed. Excavation should also extend 6” past the perimeter of the project. The native soil then needs to be compacted using a plate compactor or hand tamper.
After covering the entire excavated area with a geofabric, the bedding layer can be prepared. This is done by spreading an even layer of sand to a depth of maximum 3/4″ (19 mm). Wet down the sand prior to using a hand compactor and/or plate compactor and compact until you obtain a final height of 1/2″ (13 mm), that should mirror the final tiled surface.
For more details on base preparation required for the Gator Tile System, click here.
2. ALIGNMENT
How To Keep It Tight And Precise
Proper alignment is crucial on a tile job — and that means spacers are non-negotiable. Spacers help maintain consistent joint spacing and prevent any unwanted movement during the install process. We recommend a large spacer glued to the tiles and back (as necessary) to limit any movement.
Pro Tip: Never butt the tiles together. Over time, this can lead to chipping along the edges and uneven wear.
3. CUTTING
How To Maintain Precision
Porcelain tile is notoriously tough to cut. While that’s great for durability, it can be a challenge on-site — especially when curves or custom cuts are required.
Pro Tip: Use a wet saw with a continuous rim tile blade for clean, accurate cuts. Cutting curves may require extra time and technique, so make sure whoever is doing the cutting knows their way around a tile saw.
4.) Installation Methods
How To Choose The Right System
Not all installation methods create an equal result. While some might try a sand setting bed, this approach can lead to problems down the road — including shifting, cracking, and instability.
Pro Tip: You can install porcelain tile over a concrete slab using thinset, or better yet, use a system like the Gator Tile System, which includes every component needed to secure outdoor porcelain tiles properly and helps create a monolithic surface that minimizes settling and joint failure over time. It’s also important to note porcelain tile should never be compacted. It’s not designed for that kind of pressure and will crack under the weight.
5. EDGING & JOINT MATERIAL
How To Pick The Right Materials
The relatively low profile of porcelain tile means you'll need a low-profile edge restraint to keep everything in place. Don’t skip this — it’s essential for long-term durability and keeping your layout tight.
You’ll also want to choose a jointing material designed to work with porcelain. Standard options often don’t bond properly or fit into narrow joints.
Pro Tip: A low profile edge solution will be needed to provide proper stability and strong lateral support. Gator Xtreme Edge (fiber reinforced concrete edge) is also a good option. For the joints, consider Alliance’s Gator Nitro or Nitro-X is specifically designed for porcelain. It fills tight joints, bonds reliably, and comes in a variety of modern colors to match any tile style. (Both of these materials are included in the Gator Tile System!)
Why use the Gator Tile System?
When installing outdoor porcelain tile, success is all about precision, the right tools, and the right system. The Gator Tile System helps eliminate many of the most common pitfalls. By turning your installation into a single, stable surface, you avoid shifting tiles, cracking joints, and uneven performance. That means fewer callbacks and longer-lasting results.
Need more info?
Visit alliancegator.com/gator-tile-system to explore the system and get installation resources.


