Everything you need to install joint material correctly:
weather, watering, product selection, and more
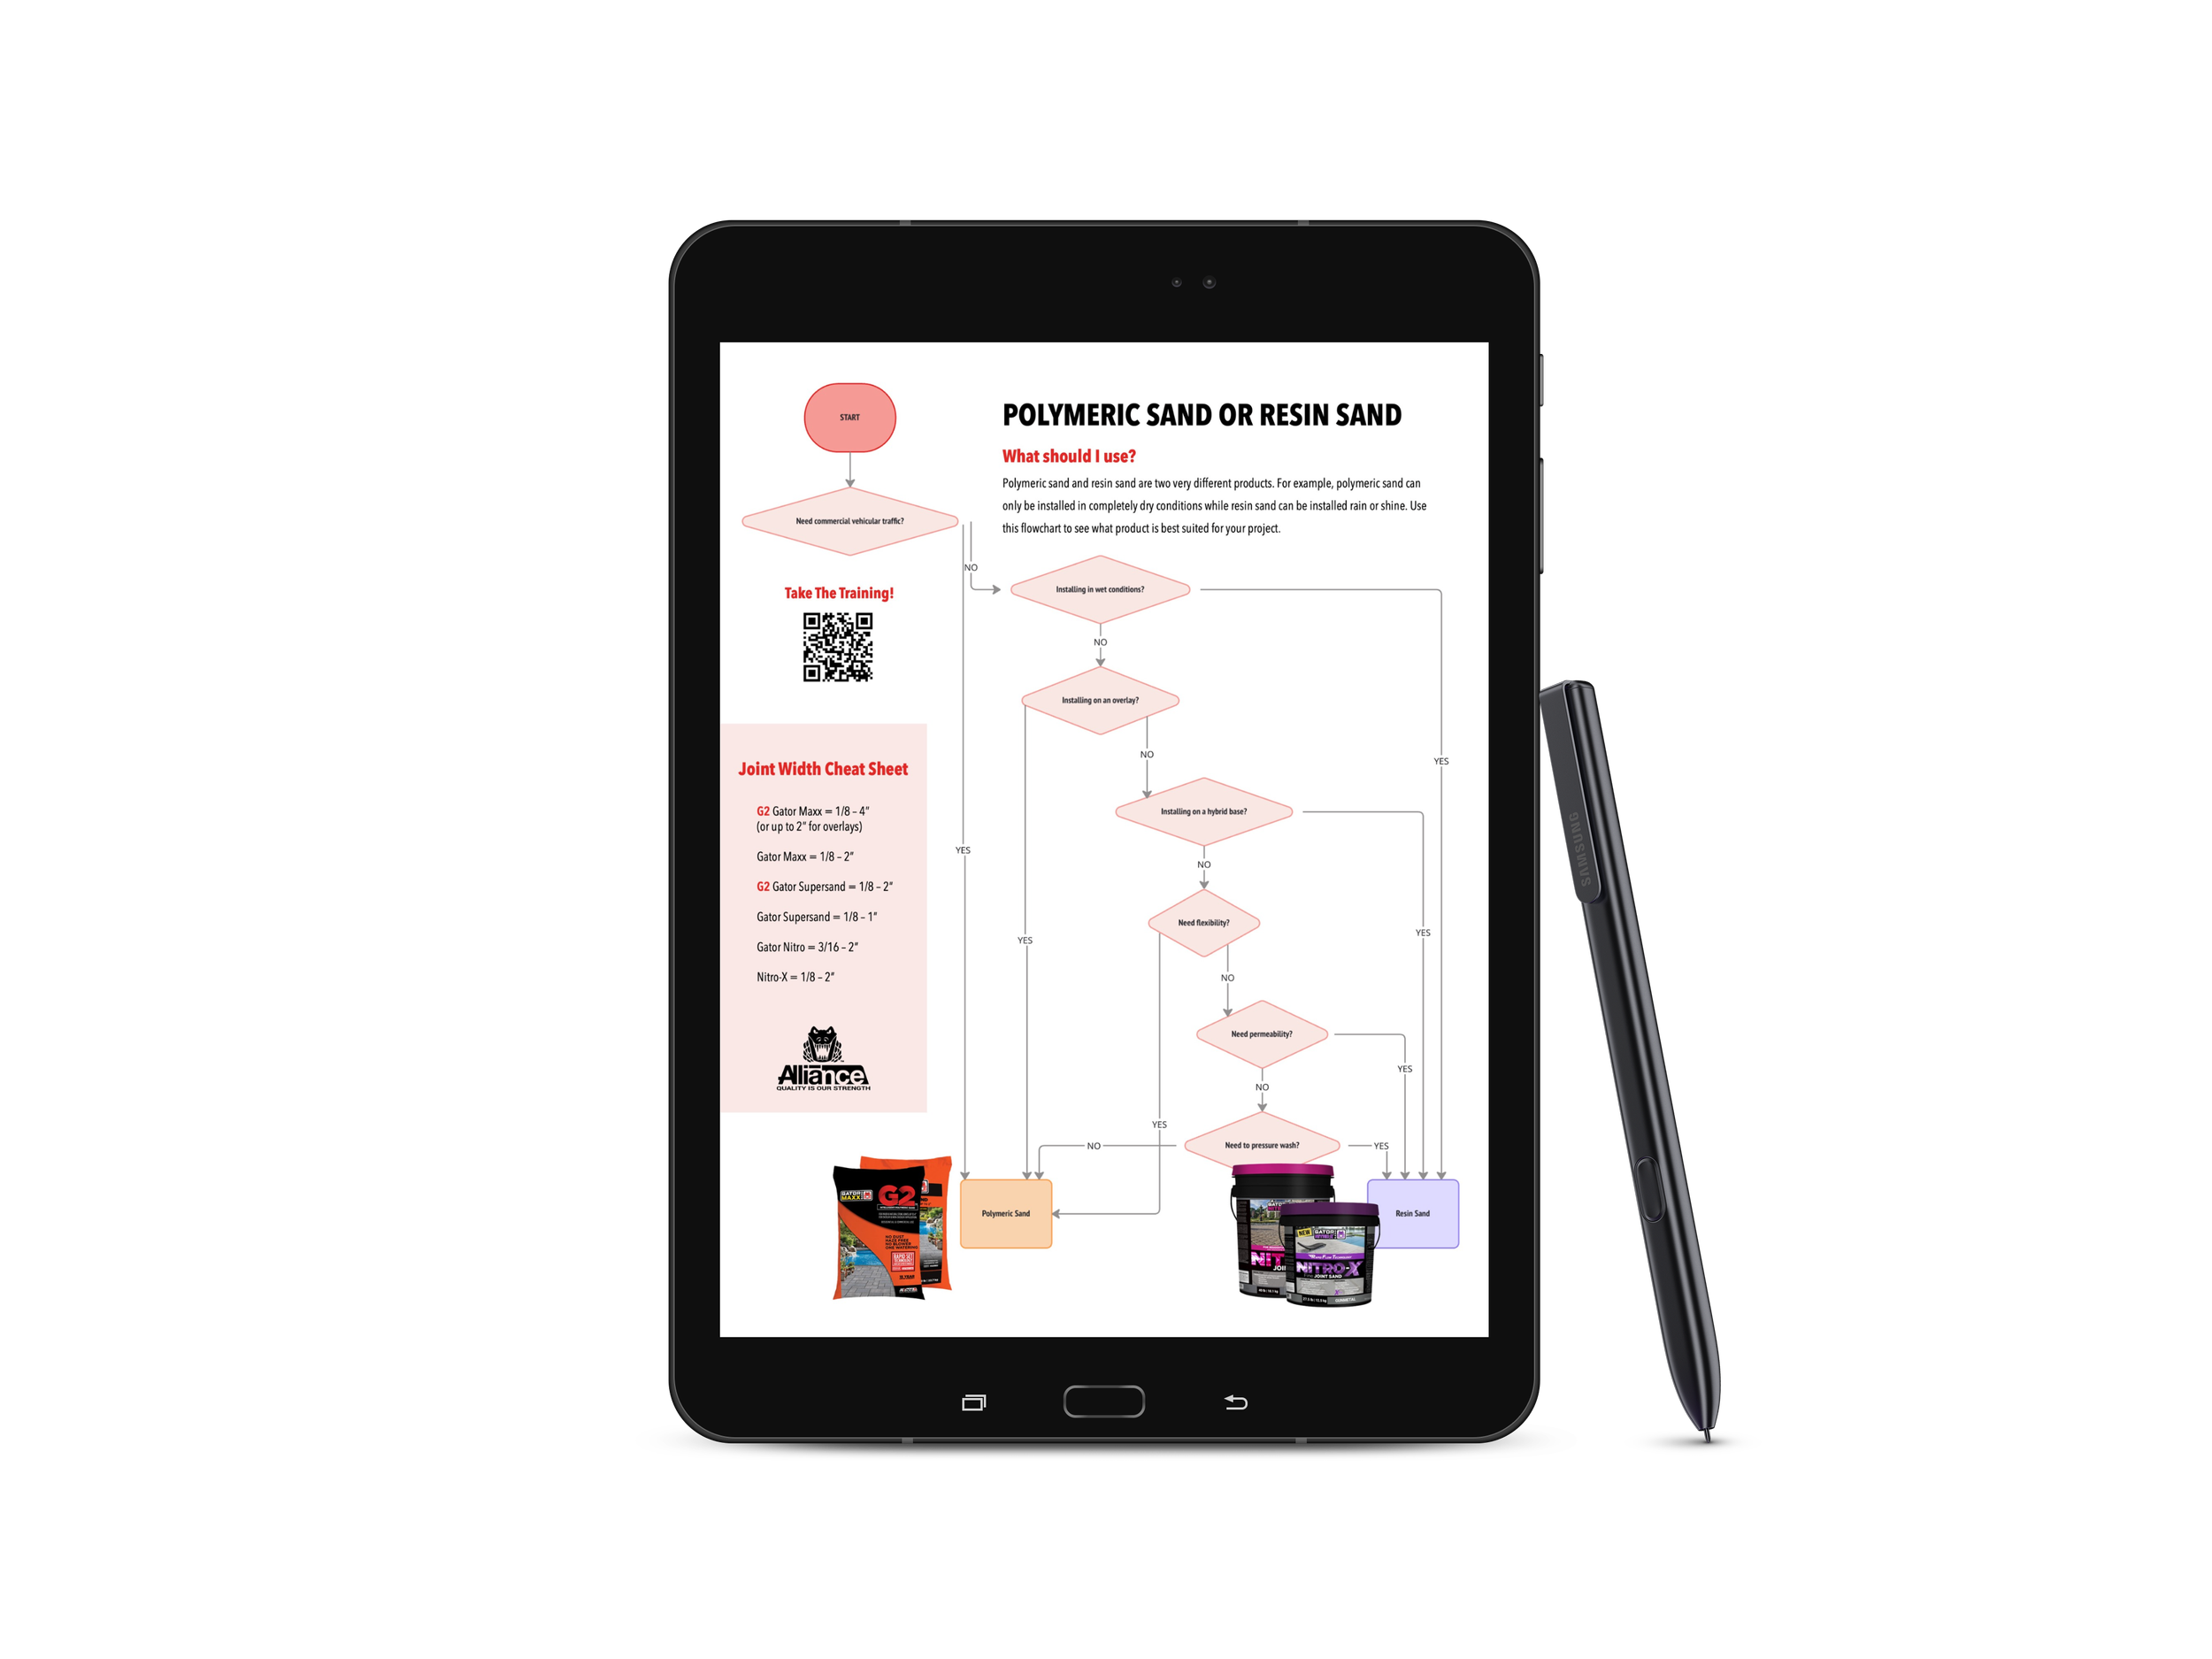
Not Sure What to Use?
Answer a few quick questions to choose the right joint material.
What Weather To Work In?
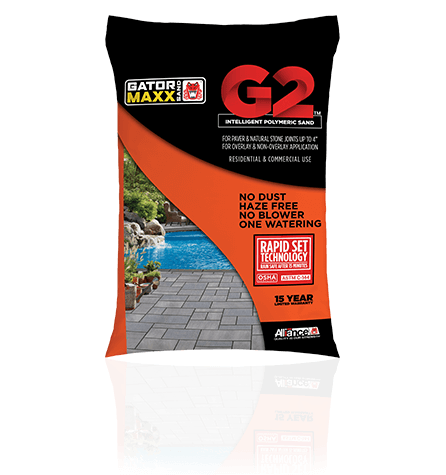
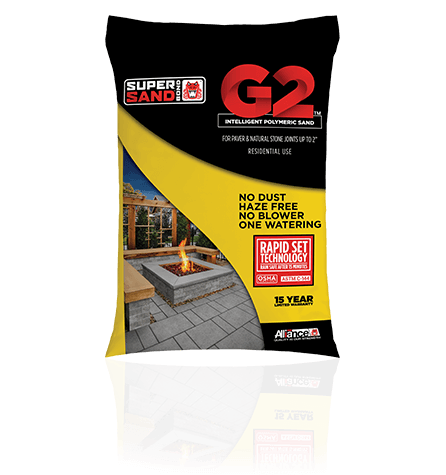
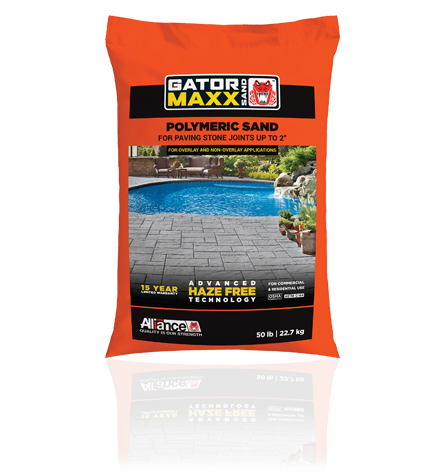
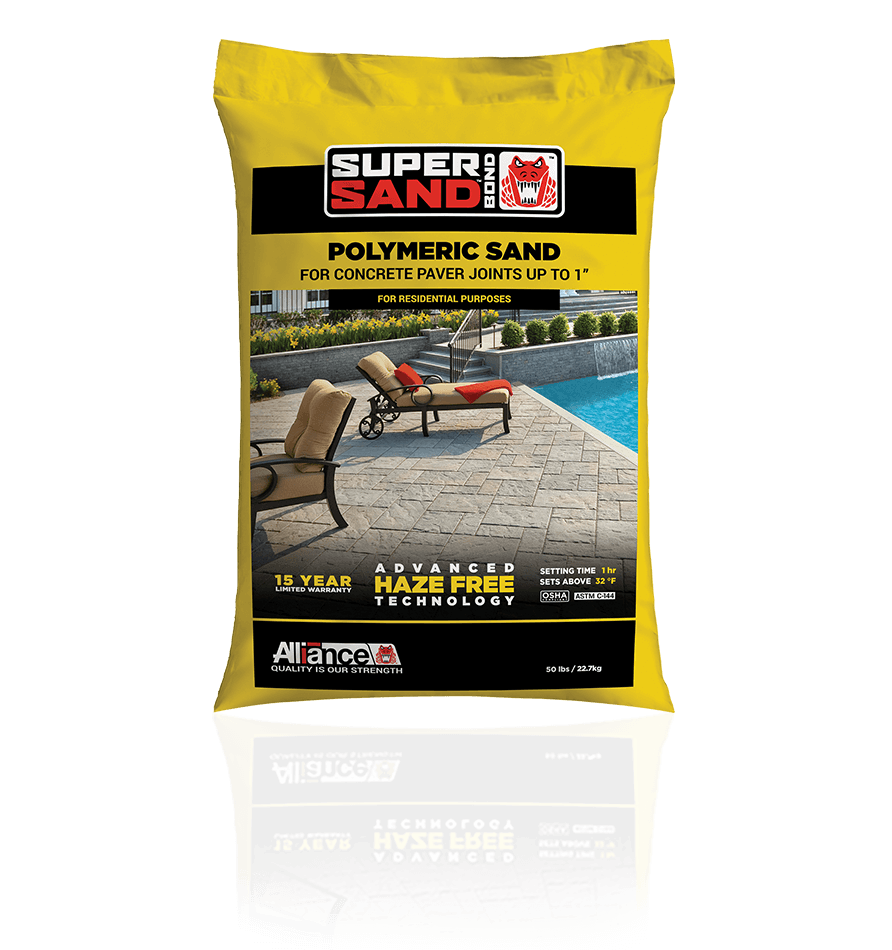
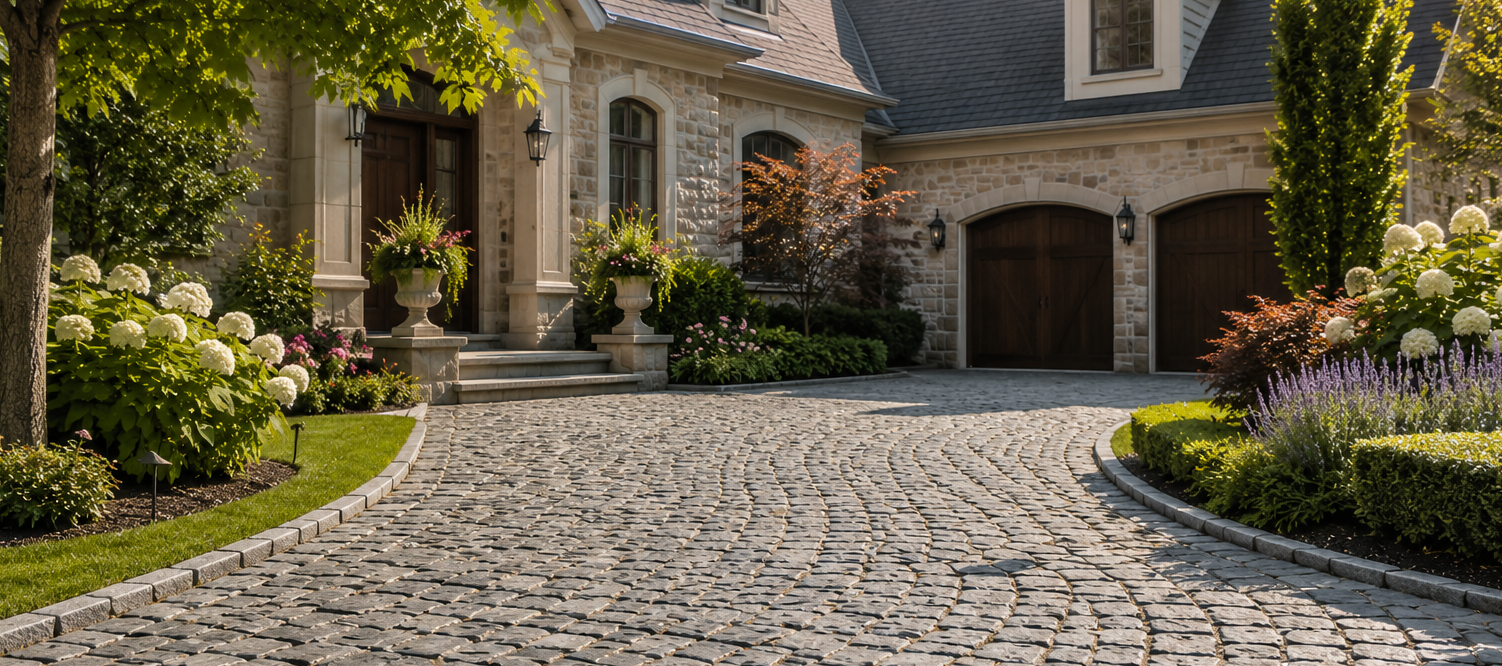
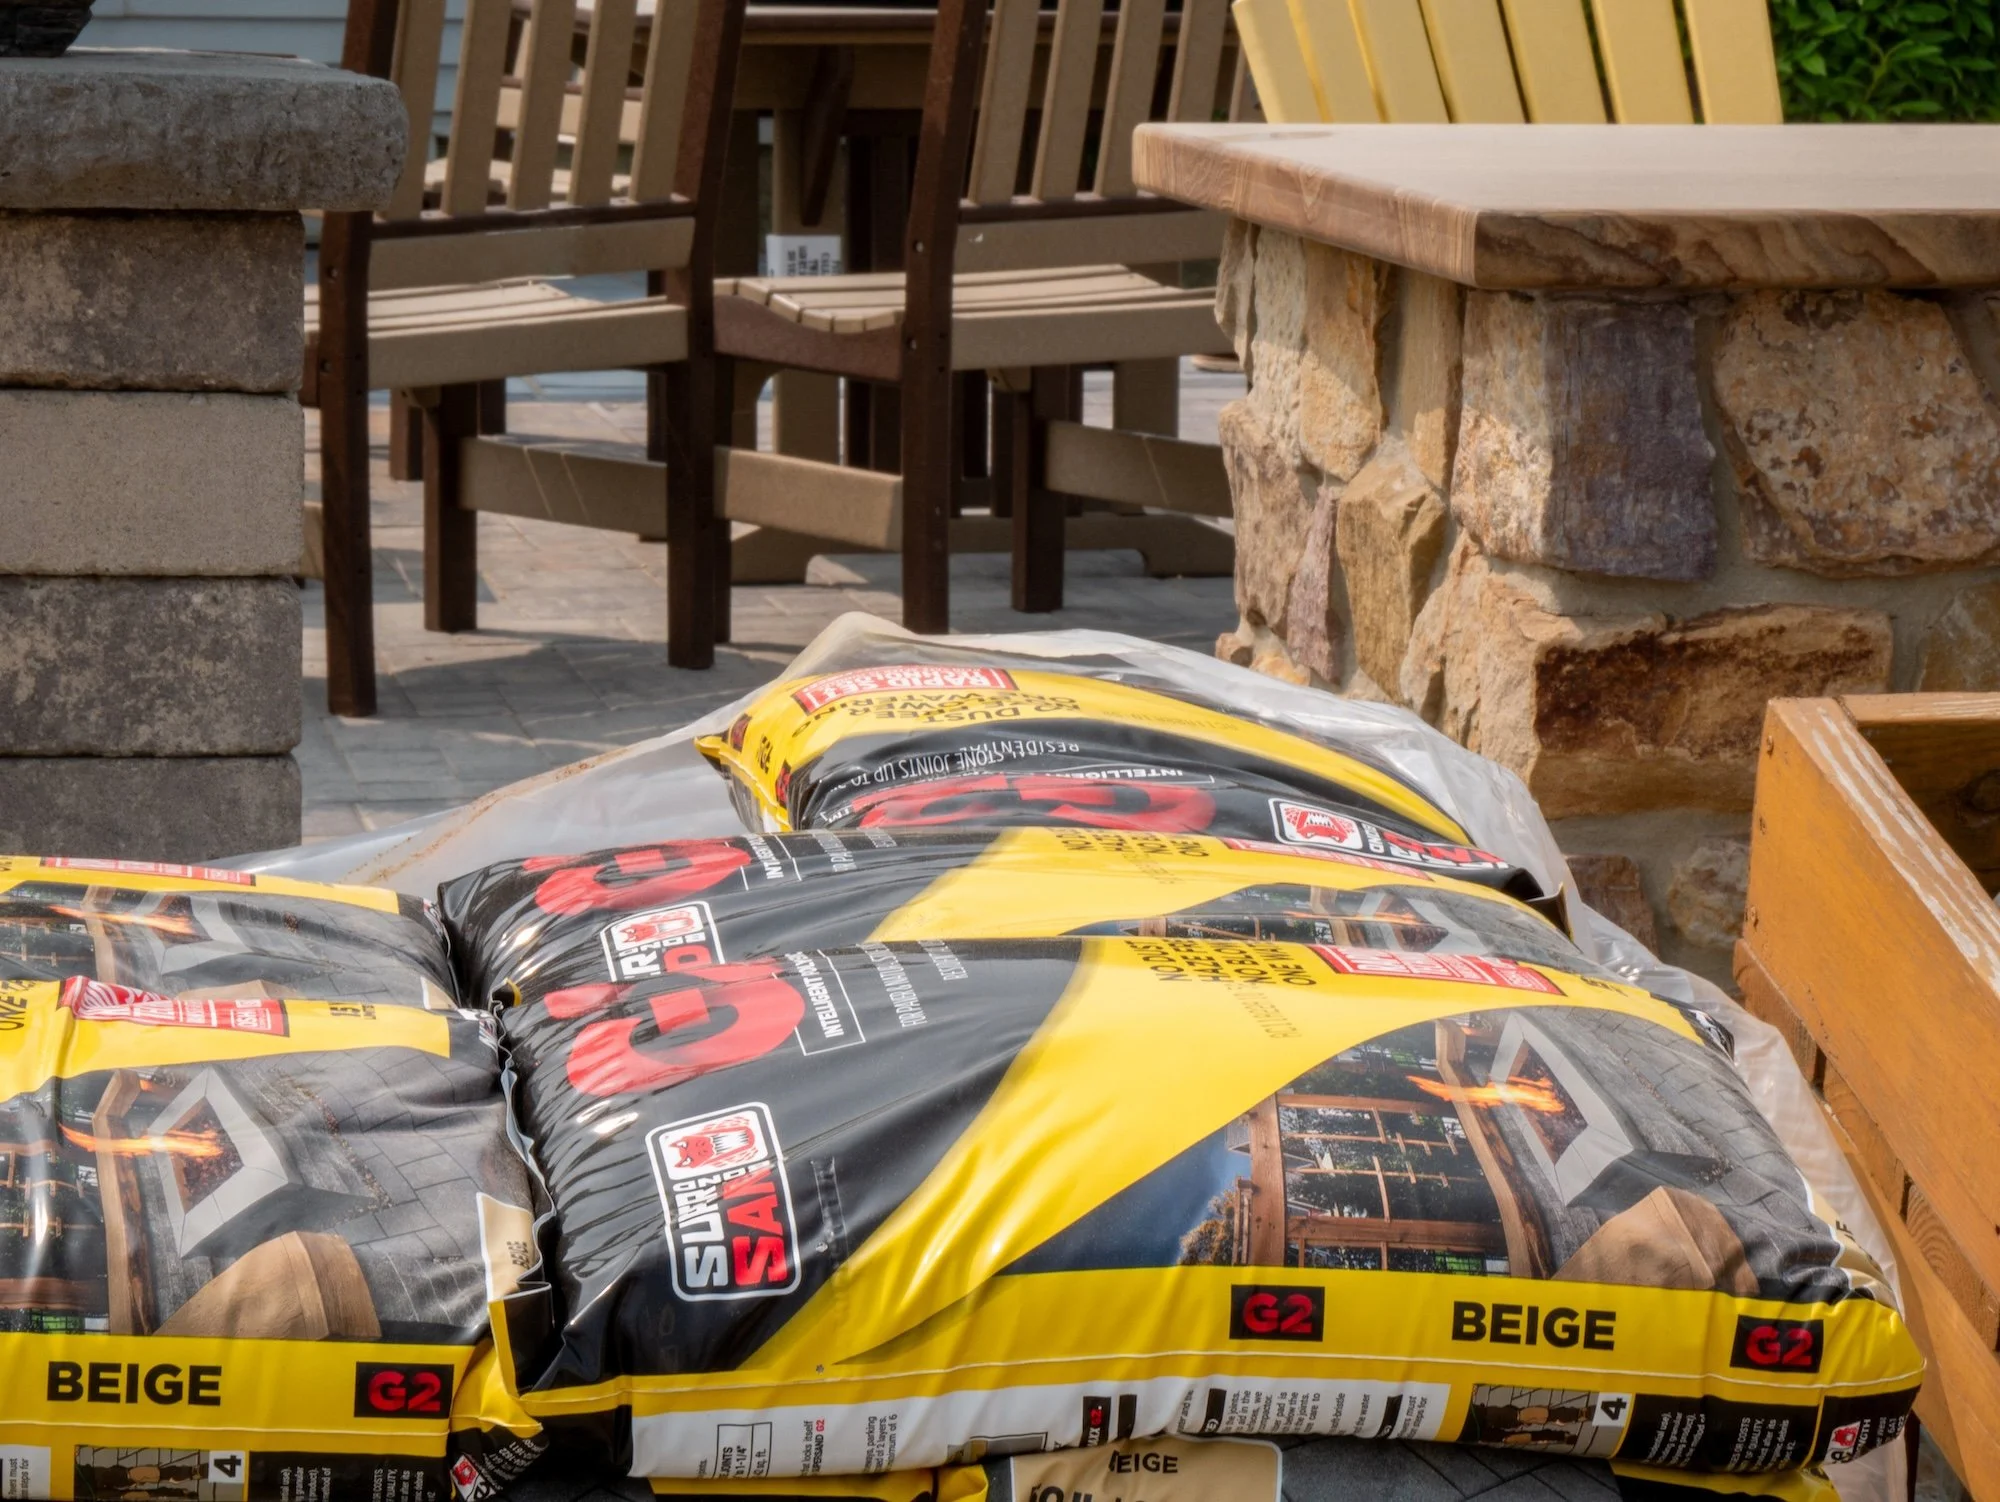
Polymeric Sand
☀️ Weather, pavers, and base must be perfectly dry
🌡️ Temperature must be above 32°F
✨ G2 Products = Rain-safe in 15 minutes (traditional install) or 24 hours (overlay)
✔ Cure time = Weather dependent (when joints fully dry out)
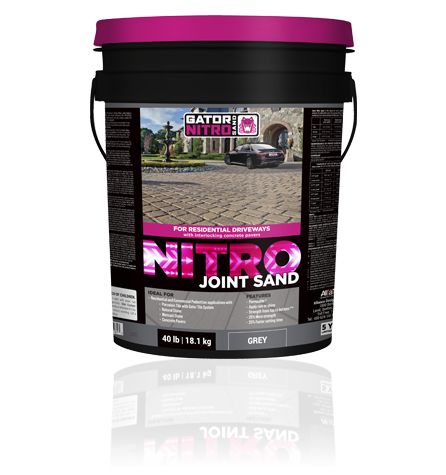
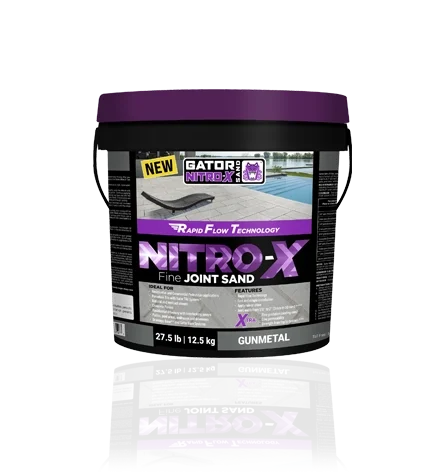
RESIN Sand
🌦️ Install rain or shine
🌡️ Temperature must be above 37°F
✔ Cure time = 24 hours
❗ Want to pressure wash in the future? Consider resin sand.
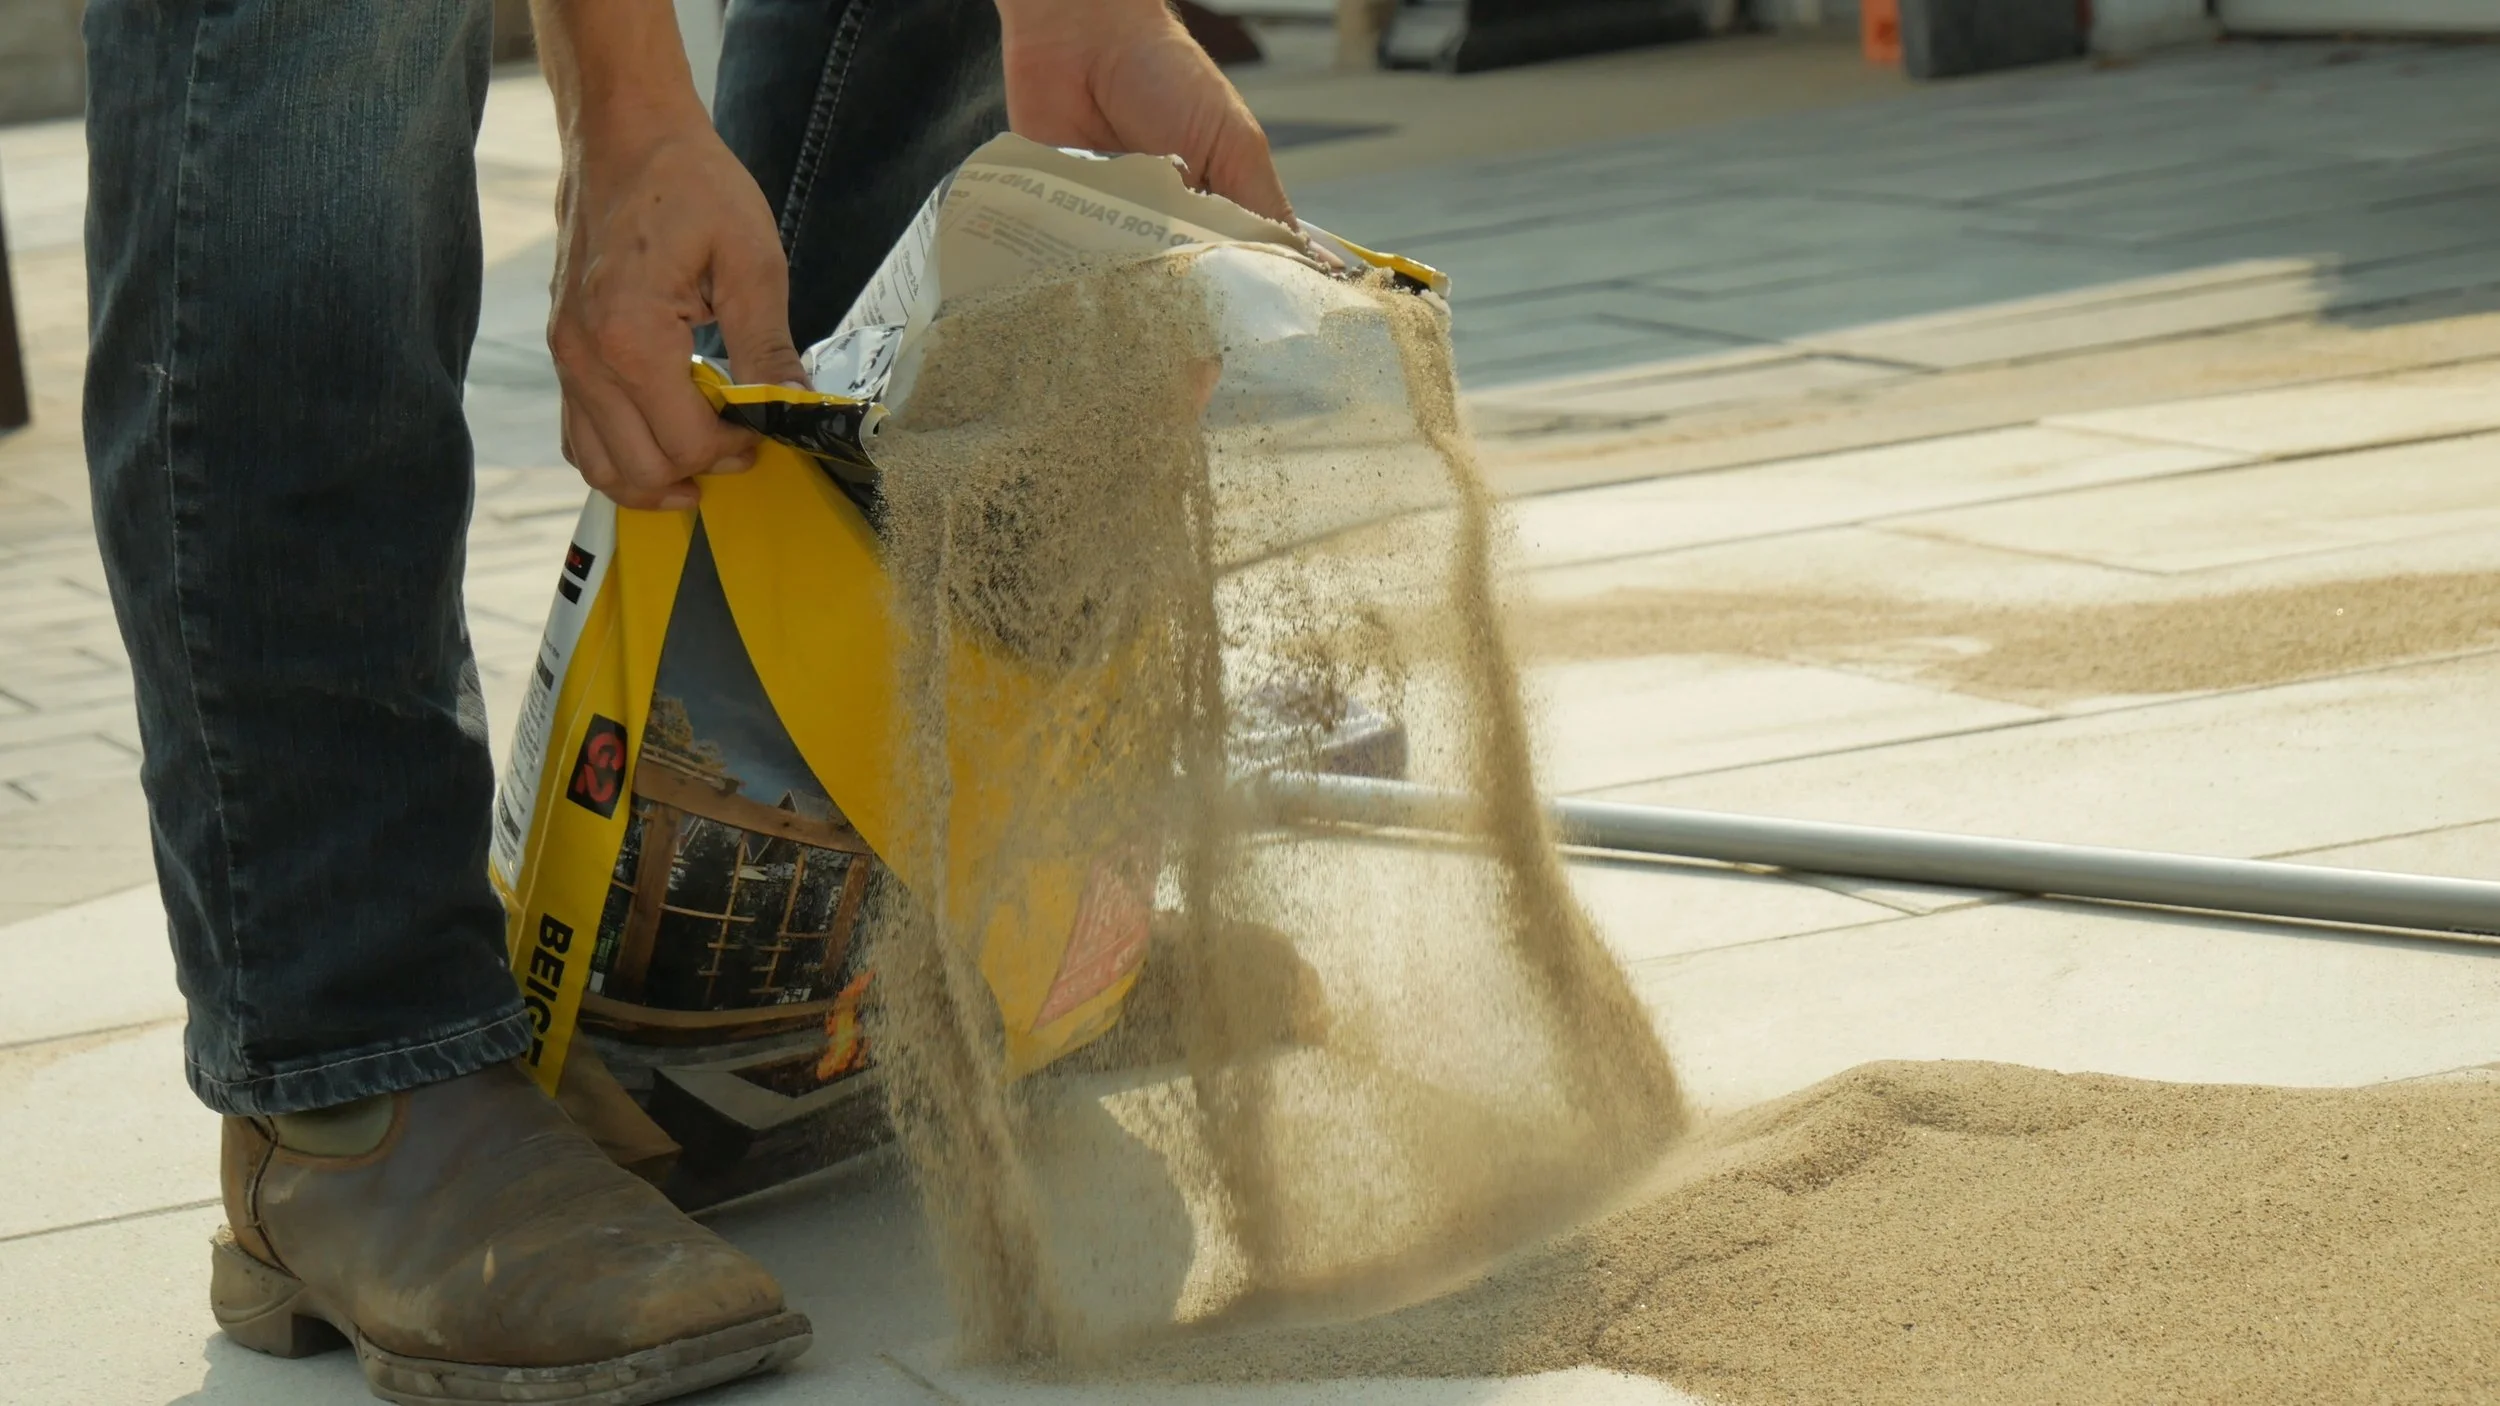
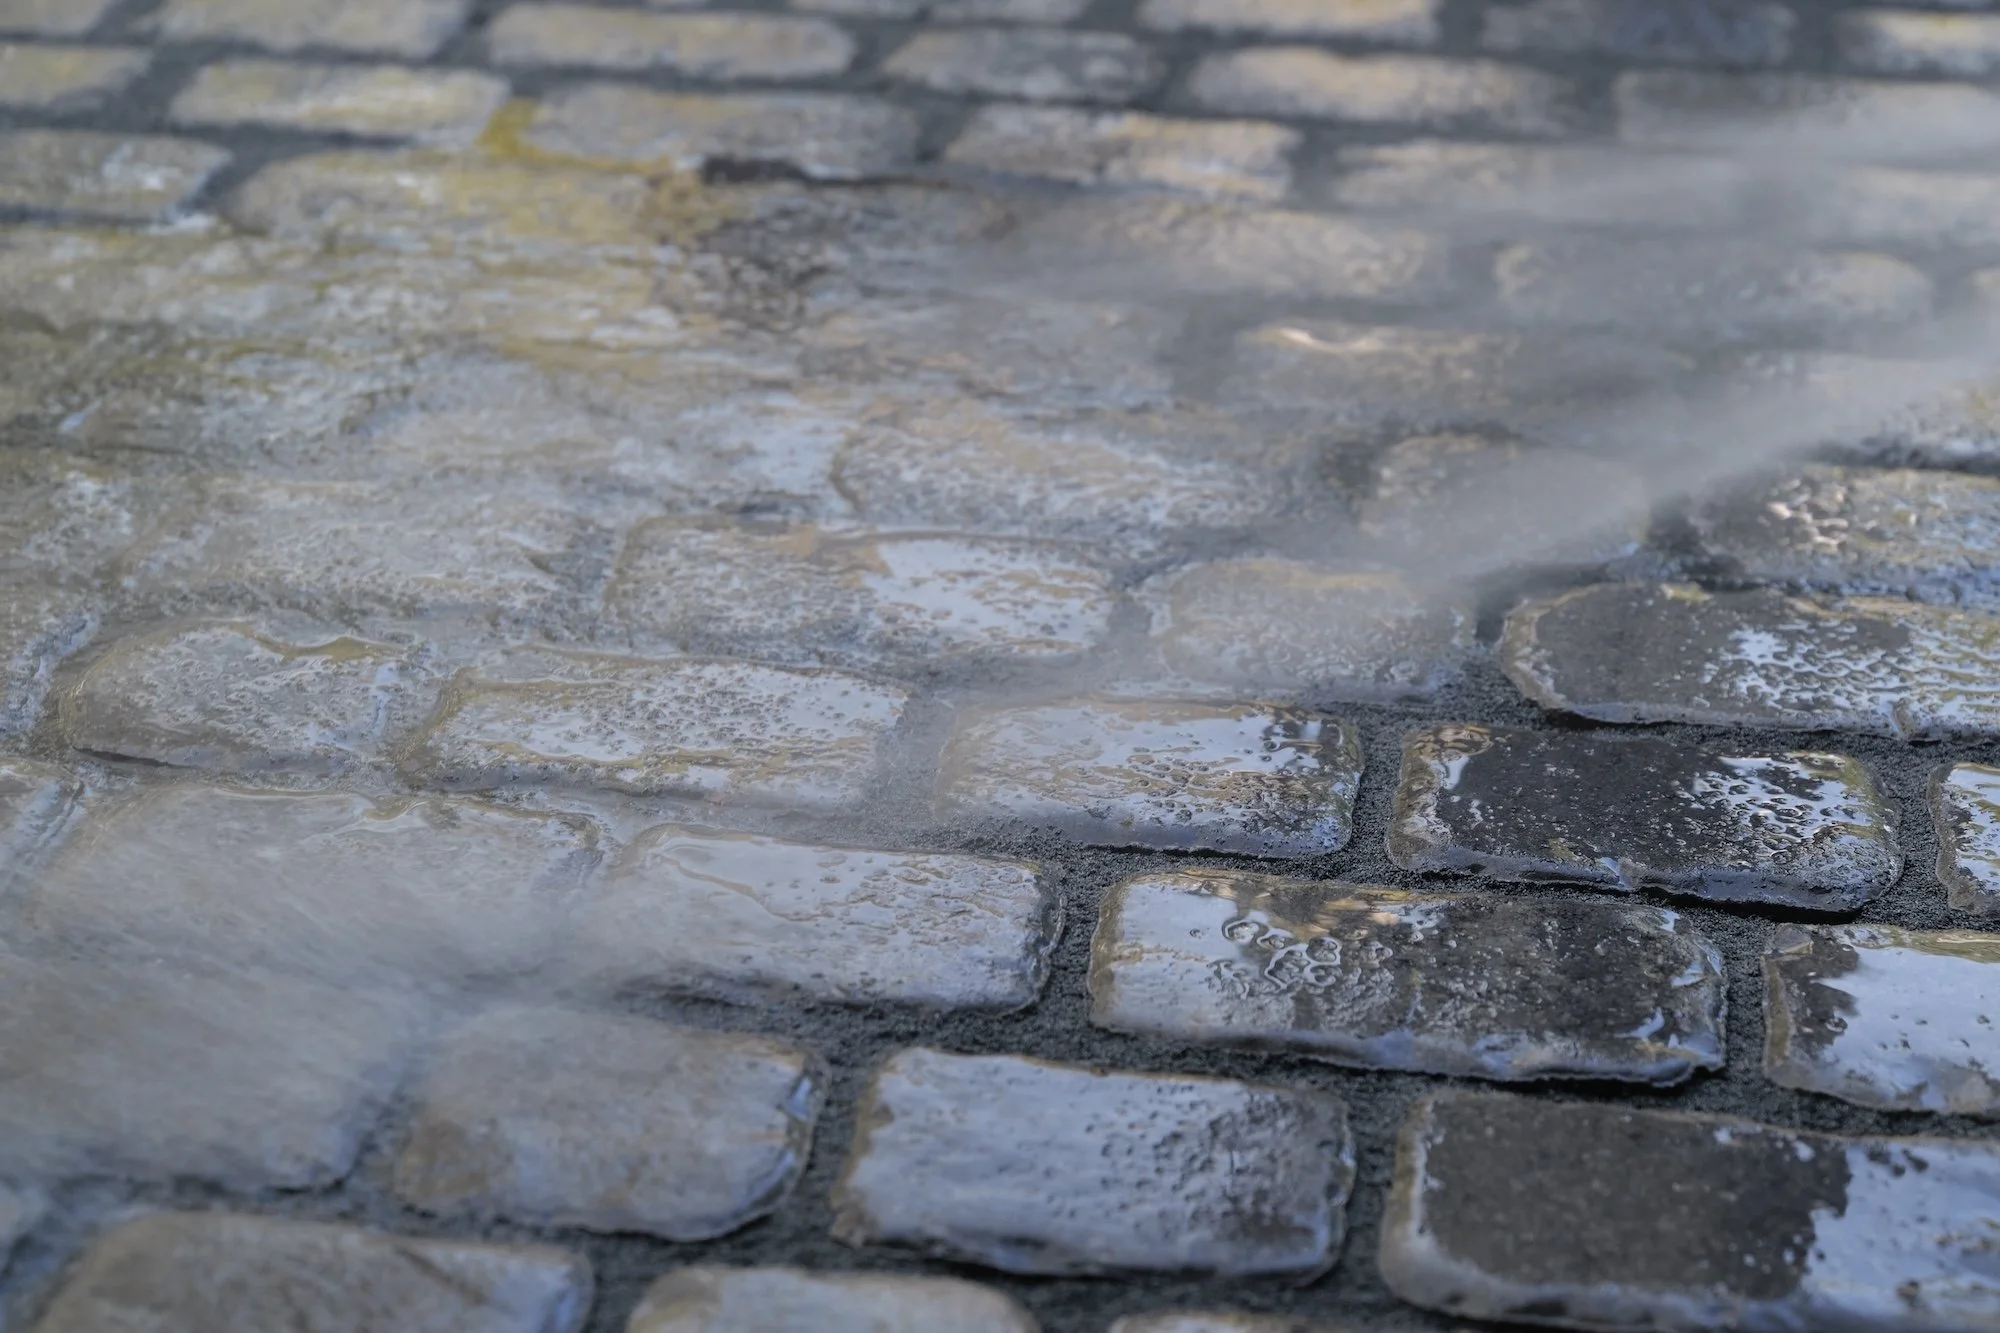
Watering Guide
G2 Polymeric Sand
💧Shower in sections of 30 sQ FT for 30 seconds at a time
*Start at lowest point of surface. Wider joints may require 60 seconds or more. Continue until joints repel water.
Polymeric Sand
💦3-STEP PROCESS - Shower in sections of 100 sQ FT at a time
*Start at lowest point of surface. Wait no more than 2-3 minutes before watering section again.
Pro Tips:
💧G2 products require A LOT of water! You have one shot to get enough water saturated down into the joint. While 30 seconds (or more!) might feel like too much, it’s not.
🛑 When to stop? When you can visibly see the joints start to repel water. (Note: Don’t let sand wash out of the joints.)
🫧You might see a white soap-like foam. This is called surfactant. It’s normal and it’s not polymers washing out of the joint! If you’re interested, you can read more about it here.
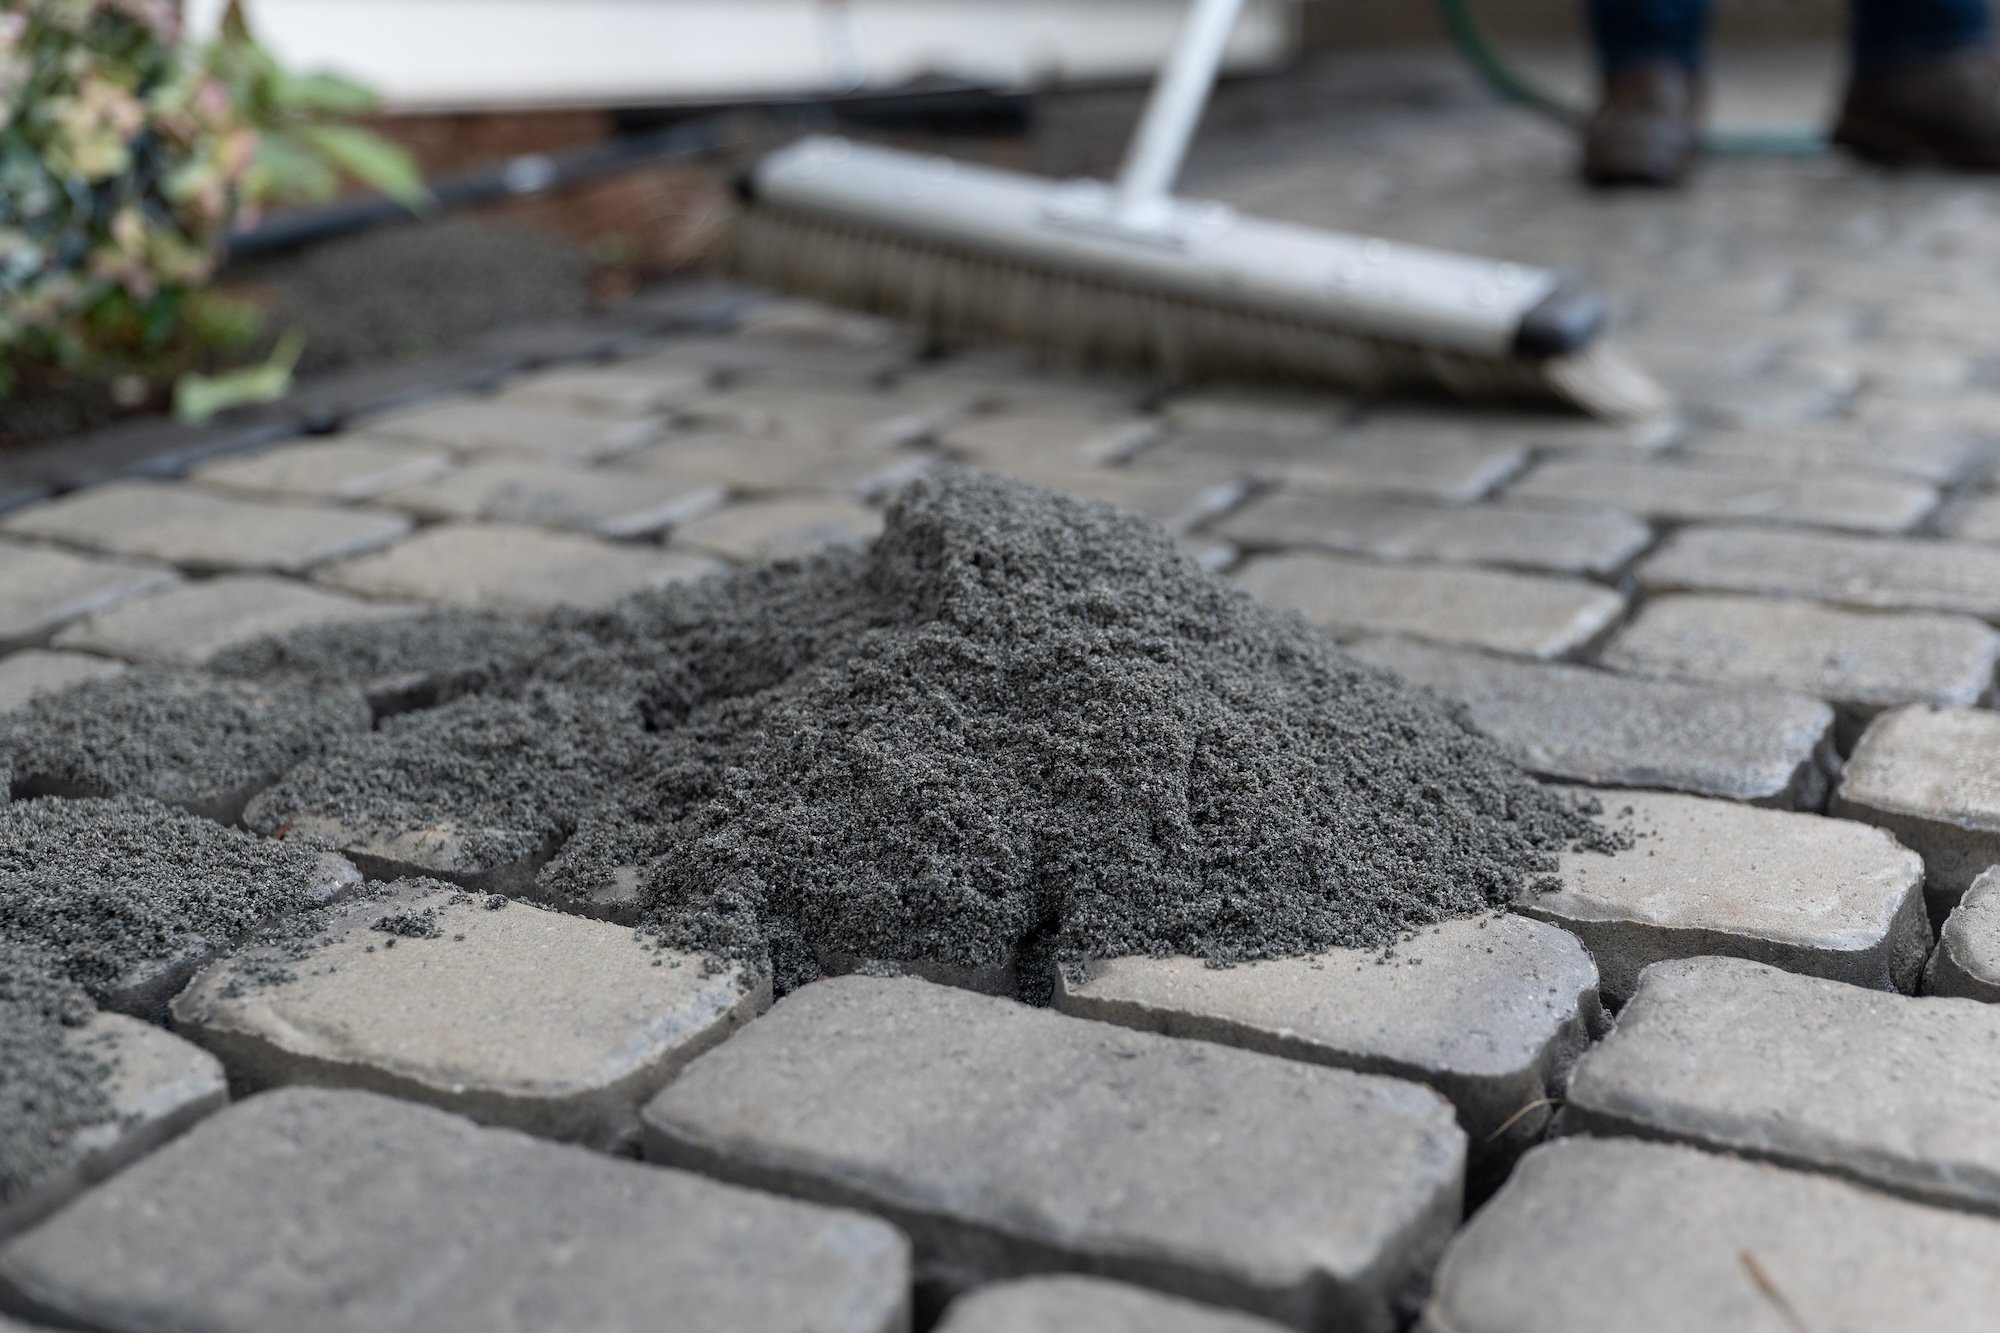
RESOURCES
Want to take a deep dive into joint sand? Check out these articles.
Every hardscape project has the same goal:
Get in, get it right, and move on to the next job.
But when joints fail—whether it’s washout, cracking, or peeling—it usually comes down to one thing:
Something went wrong during installation.
The reality is, most joint failures aren’t caused by the product itself—they’re caused by missed steps, poor conditions, or using the wrong material for the job.
In this post, we break down five of the most common mistakes we see in the field—and how to avoid them.
To help prevent frozen, damaged, or compromised materials from reaching job sites, we’ve created clear storage guidelines for all Alliance Gator products.
In order for polymeric sand to perform as intended, it all starts with a proper installation. In this post, we’re going to debunk eight common myths about polymeric sand and explain exactly how to avoid joint failures in the future.
If you’re wondering why resin sands are gaining popularity amongst contractors, we’re about to share six standout advantages that put Nitro and Nitro-X in a class of their own.
With its natural-looking and textured finish, Gator Dust is the ideal joint material to use on a stone application. However, working with this product is a little different than working with polymeric sand. In this post, we’ll share some common pitfalls to avoid to help perfect the installation process.
Porcelain tile is becoming more and more popular in the design of outdoor spaces, thanks to its versatile aesthetic, durability, and low maintenance. While the finished product looks sleek and seamless, the installation process can be anything but — especially if you’re working with large-format outdoor tiles.
Whether you're a seasoned hardscape contractor or just starting to work with porcelain, here are five common challenges you'll face during installation and tips for overcoming them.
Polymeric sand is a powerful product in hardscape installations—offering durability, joint stability, and a clean finish. But like many construction materials, it only performs as well as it's installed. In this post, we’ll share the three most common mistakes we see in polymeric sand installations—and what you can do to avoid them.
Proper drainage is one of the most critical elements of a successful hardscape installation. Without it, even the most beautiful patio or walkway can quickly become a problem area—leading to joint failure, surface staining, and even structural damage over time. Fortunately, a paver project will usually let you know when something’s wrong.
When it comes to installing polymeric sand, proper water activation is key to getting durable, long-lasting joints. Whether you're using our first generation or G2 polymeric sand, understanding the correct watering method ensures successful product performance. In this post, we’ll give you a breakdown of the recommended watering steps for each product, so your project looks great and performs even better.
Installing Nitro-X is a straightforward process. In this blog post, we’ll explain how to assess your project ahead of time and then walk you through the four installation steps.
Nitro-X, like its counterpart Gator Nitro, is ideal to use if you’re looking to achieve top-to-bottom strength within a paver, stone or tile joint. Both products can be installed rain or shine and also offer the added benefit of permeability (although the regular Gator Nitro is more permeable than Nitro-X). If you’ve decided Nitro-X is a good fit for your project, you’ve come to the right place. In this post, we’ll outline the three things you must do before getting the installation started.
Nitro-X was launched three years after the original Gator Nitro to meet the market’s demand for a strong joint material that hardens from top-to-bottom yet can also be worked into more narrow spaces. In this article, we’ll outline the six main differences between Nitro-X and the O.G. Gator Nitro.
Paver joint sand technology has come a long way. Did you know that installing Alliance’s G2 polymeric sand can be done in as little as four simple steps? In this post, we’re going to break down a poly sand job and show you how quickly and easily it can be done.
According to our Technical Support Team, the number one mistake made during a G2 Polymeric Sand installation is improper watering. In this post, we’re diving into the topics of overwatering, under-watering, drainage, and other moisture-related failures on job sites. Learn about the most common mistakes we see in the field and how to avoid them.
ASTM C144 / C33 sand. Aqua Rock. Joint stabilizing sealers. Polymeric sand. Gator Nitro. Ok, let’s face it … there are a lot of joint material options out there and each one offers a unique set of potential benefits for a hardscape project. In this post, we’re going to outline the factors you should consider when trying to decide which product to use on a job.
Gator Nitro is an air-cured resin-based jointing material that can offer a number of benefits to a hardscape installation: it provides top-to-bottom strength within the paver joint, it can be installed rain or shine, and it’s permeable when installed. In this post, we’re going to highlight 10 important things you should know prior to installing Gator Nitro on your project.
Gator Nitro is not meant to replace polymeric sand. It offers a unique set of benefits, however, that might make it a more suitable choice for particular projects. In this post, we’re going to answer the most commonly asked questions we receive from contractors about this product.
We learn from our mistakes. However, a mistake on a Gator Nitro job can be quite a headache to fix. In this article, we’re going to share the keys to success when working with Nitro and explain the top 3 things that will cause a job to fail.
Gator Nitro is very different from polymeric sand. In this article, we’ll discuss the primary differences between these two joint materials to help you determine which one will be the better choice for your unique application.
Over- or under-filling paver joints with polymeric sand can lead to project failures. In this blog post, we’ll explain how much sand is needed to sufficiently fill the joints and the steps on how to do it.
“I recently installed polymeric sand on a patio. It looks great, but if you press on it with your finger, it feels soft.” This is real life feedback we received from a contractor. In fact, we hear this often, and there are a few reasons why your polymeric sand might not be setting up properly. In this blog post, we’ll explain what they are.
Quick Tips
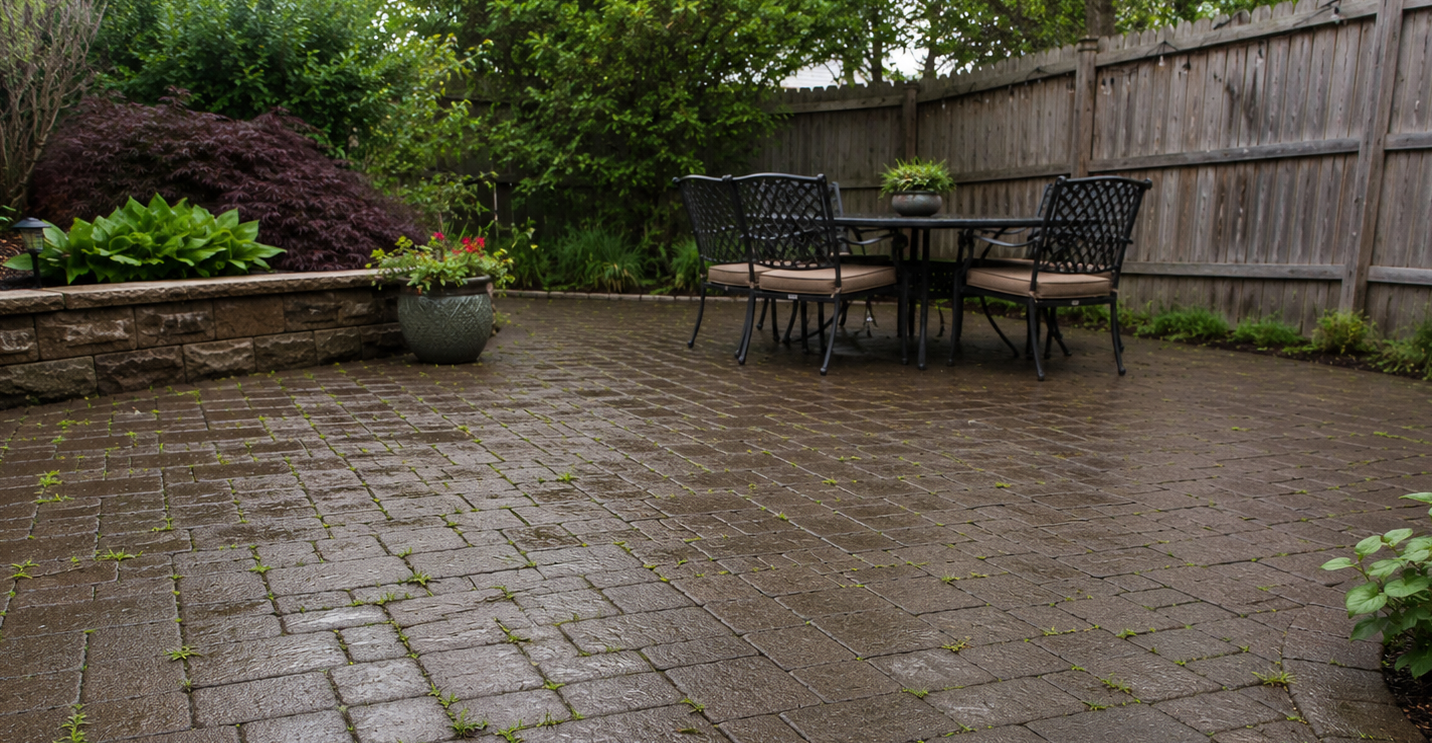
‼️ Compaction is a MUST for polymeric sand.
📏 Final joint height should always be 1/8” below the chamfer of the paver.
💪 Resin Sand = Top-To-Bottom Strength
🎈 Poly Sand = Flexibility
💧Resin Sand is permeable as installed (great for hybrid base)
